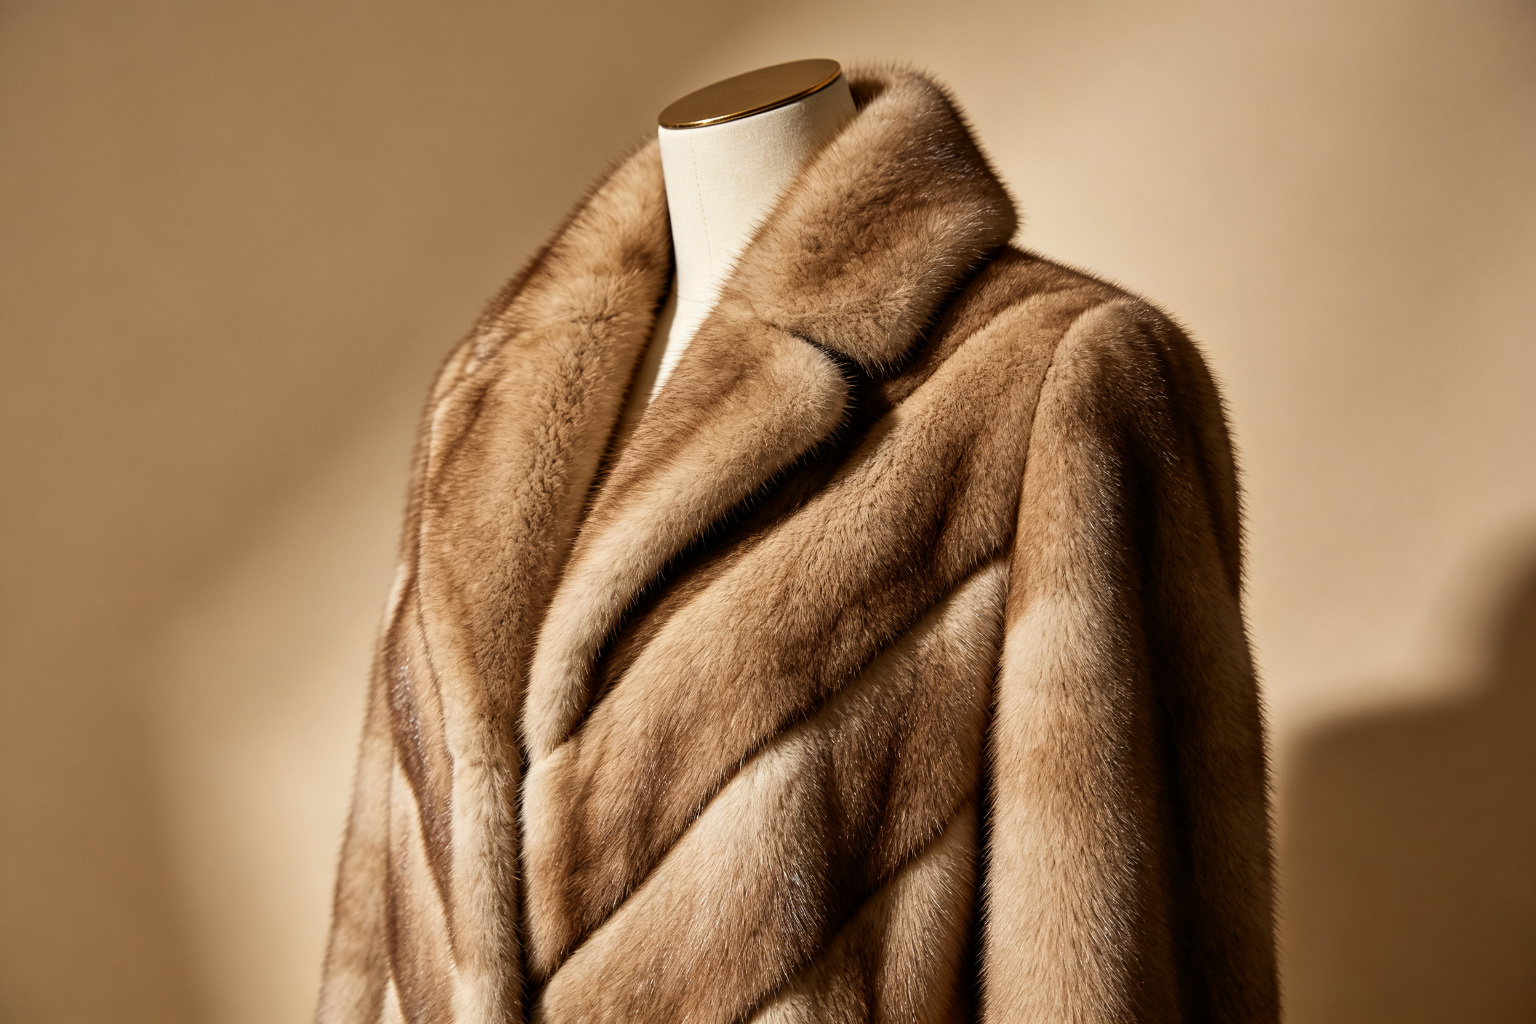
The safest way to choose a mink fur grade is not to rely on a grade name alone. Connect every grade claim to a physical sample, written specification, clear visual records, and measurable acceptance criteria. Evaluate the guard hair, underfur, color, leather condition, matching, workmanship, and finished garment as one package.
“Grade” can describe different things in different supply chains. One seller may use it for raw material selection, another for color and density, and another for the final garment. Similarly labeled coats can still differ in appearance, construction, and market suitability.
This guide explains how to compare mink samples in a repeatable way before you approve a sample or place a bulk order.
1. Start With the Finished Product, Not a Grade Label
A material label is only the beginning. Your customer experiences a finished mink coat or jacket, not an isolated material name.
Before discussing grades, define the product you are trying to make:
- Product type and intended retail position
- Garment length and silhouette
- Desired weight and warmth
- Surface look: smooth, plush, short, directional, or textured
- Target color and acceptable shade range
- Size range and fit standard
- Lining, closure, pocket, collar, cuff, and trim requirements
- Expected use, climate, and care instructions
- Destination market and any required labeling or documentation
This product brief gives the supplier a clear target. Without it, a technically attractive material can still be wrong for the design. For example, a compact cropped jacket and a long, flowing coat may require different choices in skin size, matching, weight, and construction.
2. Understand What “Mink Fur Grade” Can Include
There is no single grade word that tells a buyer everything about a finished mink garment. A useful evaluation separates several dimensions.
Guard hair
Guard hairs form the visible surface. Buyers typically compare their length, evenness, direction, sheen, and resistance to obvious breakage. The right appearance depends on the design; longer or shinier is not automatically better for every collection.
Underfur
The underfur contributes to fullness, softness, coverage, and warmth. Examine whether it feels even across the body and whether sparse areas are visible when the fur is gently separated.
Color and shade consistency
Natural materials can vary. A supplier should show how skins or panels have been selected and matched for the intended garment. Define whether subtle tonal movement is acceptable or whether the design requires a very uniform surface.
Leather side condition
The leather side affects flexibility, weight, sewing, and long-term performance. A sample should not feel unusually stiff, brittle, oily, or uneven. Ask the supplier to explain any processing relevant to the chosen material and finished product.
Size and usable area
Skin dimensions and usable area affect layout, seam placement, matching, and material consumption. A small sample swatch cannot show how the full garment will be balanced.
Selection and matching
Even good individual pieces can produce an inconsistent garment if color, hair direction, density, and surface texture are not matched carefully. Matching is therefore part of the quality decision, not a cosmetic step added at the end.
Finished workmanship
The final result also depends on cutting, joining, reinforcement, lining, closures, pressing or finishing, and quality control. Material and workmanship should be approved together.
3. Use a Side-by-Side Sample Method
Comparing samples from memory is unreliable. Use a controlled sample comparison method so that your team and supplier are discussing the same evidence.
Keep the viewing conditions consistent
Review all samples under the same neutral lighting, on the same background, and at the same distance. Avoid comparing one sample in daylight and another under warm showroom lights. If color is critical, include a known color reference in the record and confirm the physical sample before bulk approval.
Give every sample an ID
Use a simple code such as Supplier–Material–Color–Version. Place the ID in every photo, video, measurement sheet, and comment. Never approve “the grey sample” when several grey versions exist.
Photograph the same views
For each sample or garment, record:
- Full front view
- Full back view
- Left and right side views
- Collar, cuff, hem, pocket, and closure close-ups
- Surface close-up with hair direction visible
- Leather-side or seam evidence where appropriate and non-destructive
- Lining and internal construction
- Measurement points with a ruler or tape visible
Use photos to document, not to replace the physical approval sample. Phone processing, screen settings, and compression can change color and texture.
Use the same handling sequence
Gently stroke the surface with and against the hair direction, then allow it to return. Compare softness, recovery, visible gaps, and directional consistency. Do not use aggressive pulling, burning, or destructive “home tests” on an approval sample. Material verification should come from traceable documentation and agreed inspection methods.
4. Check Seven Quality Areas
1. Surface balance
Look at the garment from normal viewing distance before inspecting details. Does the surface appear balanced? Are there obvious stripes, patches, gaps, or changes in direction that are not part of the design?
Record the acceptable visual standard with a reference sample. Terms such as “premium,” “luxury,” or “top grade” are too subjective to function as acceptance criteria.
2. Hair and underfur consistency
Compare several areas, not only the center front. Check the front, back, sleeves, underarm area, collar, and hem. Note any acceptable design variation separately from defects.
For trims, examine whether left and right pieces are balanced. For a pair of cuffs or a symmetrical collar, visual matching may be more important than using the same evaluation for an intentionally mixed-panel design.
3. Color matching
Review the full garment under neutral light. Specify how much shade variation is acceptable between body, sleeves, collar, cuffs, and replacement components.
If the order contains multiple garments, approve a shade range rather than a single photographed sample. This makes bulk inspection more practical while protecting the collection’s visual consistency.
4. Leather flexibility and condition
The leather side should support the intended construction without abnormal stiffness or brittleness. Ask how the supplier checks condition before cutting and after sewing. If the design includes folding, gathering, or narrow panels, confirm that the selected material behaves correctly in those areas.
Do not infer durability from thickness alone. A heavier or thicker feel can change drape and comfort, and it is not automatically the correct choice for every design.
5. Panel and seam workmanship
Inspect whether panel lines are intentional, balanced, and compatible with the design. Check for puckering, visible gaps, trapped hair, uneven joins, and distortion around curved areas.
Open and close the garment several times. Look at stress points around armholes, pockets, hooks, buttons, zippers, vents, and hanging loops. The supplier should clarify which internal reinforcements are used when those details are part of the specification.
6. Lining and components
Check lining composition, color, hand feel, seam finish, ease, labels, pockets, closures, and branded components. A well-matched exterior can still fail approval if the lining pulls, the pocket position is inconsistent, or the closure does not sit flat.
List every component in the tech pack or bill of materials. If substitutions may be necessary, require written approval before production.
7. Measurement and fit
Use an agreed measurement chart and method. Record the sample laid flat under consistent conditions, and identify whether measurements are taken on the outside, inside, or along a seam.
Do not approve fit from a mannequin photo alone. Confirm the base size, intended ease, shoulder shape, sleeve length, armhole, chest, hem, and total garment length. For bulk production, define measurement tolerances by point rather than using one general tolerance for the whole garment.
5. Ask for Evidence Behind the Claim
A professional supplier discussion should convert descriptive words into evidence. Depending on the product and destination market, ask for:
- Written material composition and product specification
- Clear sample identification
- Color or shade reference
- Construction and measurement sheet
- Component list
- Sample revision record
- Photos or video of the approved sample
- Quality-control checklist tied to the specification
- Labeling and documentation available for the destination market
- Written record of any approved deviation or substitution
If a claim involves origin, certification, animal species, processing, or legal compliance, request the relevant valid document and confirm whether it applies to the exact material and shipment. A generic certificate image or an unrelated product document is not enough.
6. Build an Approval Standard the Factory Can Repeat
The purpose of sampling is not simply to receive a beautiful piece. It is to create a production reference that both sides can repeat and inspect through an agreed quality-control process.
Your approval package should contain:
| Item | What to record |
|---|---|
| Product identity | Style number, version, size, color, material |
| Visual reference | Approved full views and detail photos |
| Material | Composition and approved sample reference |
| Measurements | Points of measurement and tolerances |
| Construction | Seams, panel direction, reinforcement, closures |
| Components | Lining, labels, hardware, packaging |
| Appearance | Shade range, matching, surface acceptance |
| Exceptions | Approved deviations with date and responsible person |
| Approval | Physical sample location and sign-off date |
Keep one sealed or clearly marked approval sample where practical, and make sure the supplier is working from the same version. If the sample changes, update the version number instead of adding comments to an old approval record.
7. Common Buyer Mistakes
Buying a label instead of a specification
“Grade A” or “premium” may sound reassuring, but it cannot replace measurable requirements and a physical sample.
Approving only the best camera angle
Always request consistent full views and close-ups. A short social-media clip is not a production approval record.
Comparing samples under different lighting
This creates unnecessary color disputes. Standardize the review conditions and keep the physical reference.
Ignoring matching across the garment
A good swatch does not guarantee a balanced full coat. Approve the completed sample and define matching expectations.
Leaving tolerances until bulk inspection
Inspection cannot be fair if the acceptance standard was never agreed. Set tolerances and visual references before production starts.
Assuming all details are included
Confirm lining, labels, closures, pockets, packaging, and documentation in writing. If it is not in the specification, it is open to interpretation.
8. A Simple Shortlisting Scorecard
Use a scorecard to make discussions consistent, weighting sections for your product rather than treating it as a universal grade.
| Area | Suggested review question |
|---|---|
| Design suitability | Does the material support the intended silhouette and retail position? |
| Surface consistency | Is the hair direction, density, and appearance balanced? |
| Color matching | Is the shade range appropriate for the garment and order? |
| Leather condition | Is flexibility and condition suitable for the construction? |
| Workmanship | Are panels, seams, closures, and stress points well executed? |
| Fit and measurement | Does the sample meet the agreed chart and tolerance? |
| Evidence | Can the supplier connect claims to the exact sample and documents? |
| Repeatability | Is the approval package clear enough for bulk production and inspection? |
Record comments, not only numbers. A slightly lower score in an irrelevant category should not outweigh a critical failure in material identity, fit, or construction.
9. Questions to Send a Mink Garment Supplier
Before requesting a quotation, send a focused brief:
- Which product type and silhouette are you sourcing?
- Which sample or style reference should the supplier follow?
- What material composition and surface look do you require?
- What color or shade range is acceptable?
- Which size chart and measurement tolerances apply?
- Which lining, closure, label, and packaging details are required?
- What is the approximate order quantity and destination market?
- Which documents or labeling requirements must be checked?
- What sample evidence and revision record will be provided?
- How will the approved sample be used during bulk quality control?
Providing these details helps a manufacturer check the relevant material and production options before quoting. Price can vary with material selection, matching requirements, design complexity, quantity, components, and customization, so a useful quotation must be tied to a defined product.
Frequently Asked Questions
Is there one universal mink fur grading system?
Buyers should not assume that one grade word has the same meaning across every supplier or market. Ask what the grade covers, request a physical reference, and define material, appearance, construction, and measurement criteria in writing.
Is denser mink always better?
Not necessarily. Density affects appearance, coverage, warmth, weight, and hand feel, but the correct choice depends on the garment design and target market. Evaluate it together with hair balance, leather condition, matching, and finished construction.
Can I approve mink color from photos?
Photos are useful records but should not be the only color approval when shade is important. Lighting, phone processing, compression, and display settings can change appearance. Use an identified physical sample and an agreed shade range.
What should a supplier include with a sample?
Request a sample ID, material specification, color reference, measurement sheet, component details, revision status, and clear full-view and detail images. Add destination-market documents when relevant to the exact product.
How do I reduce quality disputes in bulk production?
Create one shared approval package before production: an identified physical sample, photos, measurements, tolerances, material and component specifications, acceptable shade range, construction details, and written exceptions.
What information is needed for a meaningful quotation?
Share the style, material requirement, color, size range, customization, approximate quantity, and destination market. The supplier can then verify the relevant specifications and supply options before preparing a quote.
Next Step
If you are evaluating a mink coat or jacket for wholesale, review LINHUA’s fur coat collection and send us the style you are considering, the approximate quantity, and the destination market. We will first check the relevant material specification and supply options, then discuss sampling and quotation details on WhatsApp.