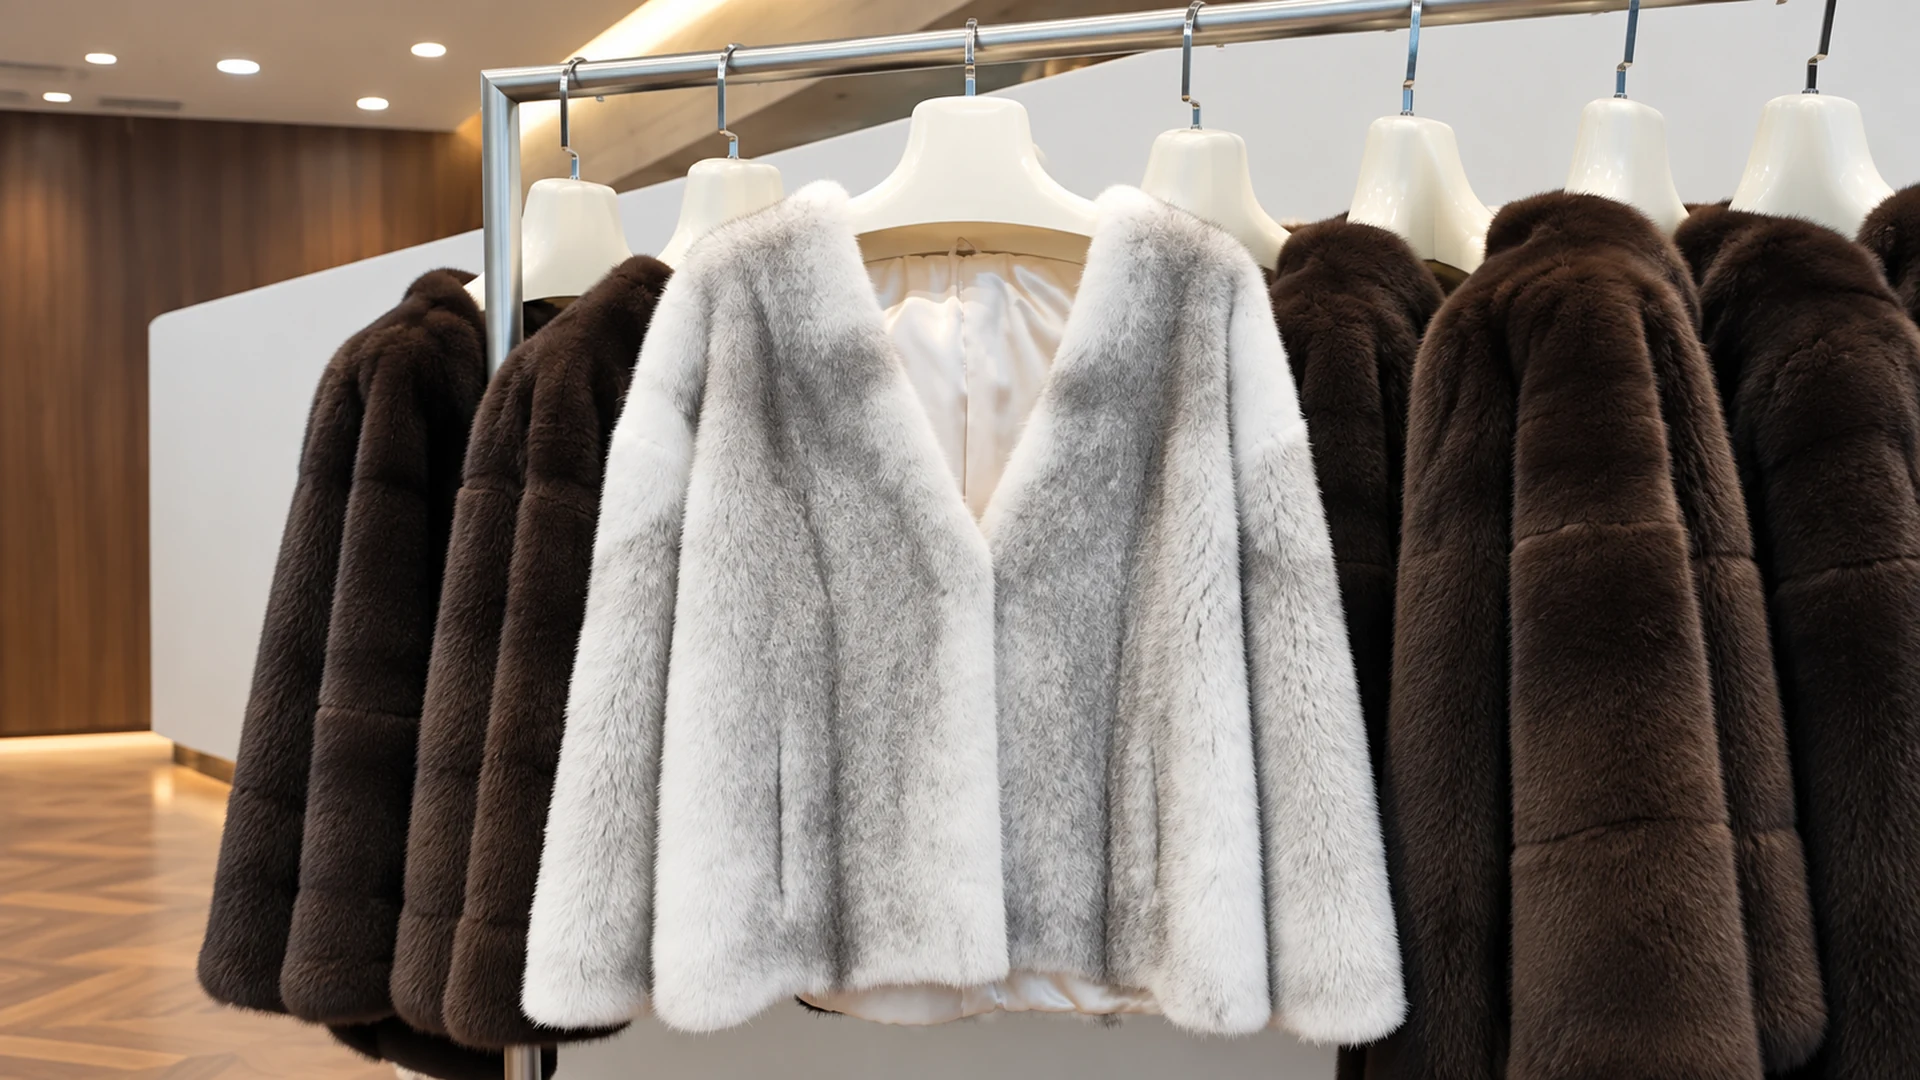
The safest way to compare fur garment samples is to review identified versions under the same conditions and score the same product characteristics in the same order. Compare silhouette, measurements, material identity, color, surface balance, construction, lining, components, function, and presentation. Then approve one version with written tolerances, photos, and dated comments.
Sample approval is not simply choosing the garment that looks best in a message. A development sample may answer design questions, while a pre-production sample should represent the version that bulk production is expected to follow. If buyers mix these purposes, compare different versions from memory, or send unstructured comments, the sample process becomes slower and the production reference becomes unclear.
This guide provides a repeatable method for wholesale buyers, private-label brands, and importers evaluating fur coats, jackets, vests, trims, or related winter accessories.
1. Define What the Sample Must Prove
Before comparing garments, write down the purpose of the review. Different sample stages answer different questions.
- A concept sample tests silhouette, proportion, and design direction.
- A material sample tests color, surface, hand feel, weight, and suitability.
- A fit sample tests measurements, balance, mobility, and size grading assumptions.
- A sales sample may demonstrate the intended commercial appearance.
- A pre-production sample should consolidate the approved material, construction, components, measurements, labels, and packaging direction.
Do not reject a concept sample for missing final packaging if packaging was not part of that stage. At the same time, do not approve bulk production from a concept sample that still contains temporary materials or unresolved components.
Create a short review brief with the sample stage, questions to answer, critical requirements, and approval owner. This keeps design, merchandising, technical, and purchasing teams focused on the same decision.
2. Give Every Sample a Unique Version ID
Terms such as “the grey one” or “the second sample” create avoidable mistakes. Use a version code that remains attached to the physical garment and every digital record.
A practical ID can include:
- Style number
- Material or color reference
- Supplier or development route
- Version number
- Sample stage
- Date received
For example, a buyer could use ST104-GREY-V2-PP-20260917. The exact format is less important than consistency.
Place the ID in the measurement sheet, photo folder, video file, comment table, courier record, and approval email. If the factory creates a revised sample, issue a new version instead of silently changing the old record.
3. Normalize the Comparison Conditions
Samples should be reviewed side by side under controlled conditions. Memory is unreliable, and photographs made under different lights can exaggerate or hide differences.
Use:
- The same neutral background
- The same lighting position and color temperature
- The same hanger, mannequin, or flat-lay method
- The same camera distance and lens setting
- The same measurement method
- A clean, dry garment at a stable room condition
- The same review sequence for every version
For color-critical decisions, a physical approved reference is more reliable than a phone screen. Automatic image enhancement, messaging compression, and different displays can shift color and contrast. Photographs should support the approval record, not replace the physical sample when shade, texture, or hand feel is important.
4. Review the Garment in Ten Areas
1. Overall silhouette and proportion
Begin at normal viewing distance. Check body length, volume, shoulder line, sleeve shape, collar scale, front opening, hem balance, and the visual relationship between major panels.
Ask whether differences are intentional design changes or production deviations. Record the target with a sketch, approved photo, or measurable specification instead of comments such as “make it more premium.”
2. Measurements and fit
Use one measurement chart and one method. Lay the garment in the agreed position without stretching it. Record the actual value, target, and tolerance for every point of measurement.
Important points may include chest, shoulder, back length, sleeve length, bicep, cuff, sweep, collar dimensions, pocket position, and closure placement. The relevant list depends on the style.
When reviewing fit on a person or form, check movement, balance, sleeve rotation, neckline, armhole comfort, closure alignment, and how the garment hangs when open and closed.
3. Material identity
Confirm the material used in each garment area rather than relying on one general product name. Record the body, collar, cuffs, trims, lining, reinforcement, closures, labels, and packaging components separately.
If a sample uses a substitute material for development, mark it clearly and state what the production version must use. Never let a temporary component become approved only because it appeared in a visually acceptable sample.
4. Color and shade range
Compare color under neutral light and review the complete garment, not only a close-up. Check the relationship between body, sleeves, collar, cuffs, trim, lining, and hardware.
Natural and textured materials can show tonal movement. Decide whether this variation supports the design and define an acceptable range. For bulk production, a range or set of physical references can be more practical than expecting every piece to match one processed photograph.
5. Surface balance and direction
Review hair or pile direction, density, sheen, visual coverage, panel matching, and intentional pattern placement. Look for abrupt changes, sparse areas, trapped fibers, unintended stripes, or left-right imbalance.
For patterned garments, compare the location and scale of the pattern at the front, back, sleeves, and major joins. The pattern does not always need to be perfectly mirrored, but the approved expectation should be recorded.
6. Construction and seams
Inspect joins, seam lines, reinforcement, stress points, hems, armholes, pockets, vents, and the attachment of collars or trims. Check for puckering, twisting, visible gaps, trapped hair, uneven edges, or distortion.
Open and close the garment several times. A sample that looks correct on a hanger can still reveal alignment or reinforcement problems during use.
7. Lining and internal finish
Turn the garment carefully and inspect the lining composition, color, ease, seams, pocket bags, facing, labels, hanging loop, and internal cleanliness.
The lining should support movement without pulling the outer garment. Confirm label text and placement separately; destination-market labeling requirements should be checked for the exact product and market.
8. Components and function
Test hooks, buttons, zippers, snaps, belts, drawcords, and other hardware. Check placement, alignment, finish, security, ease of use, and whether the component supports the intended garment weight.
Record component IDs or reference photos. If a component changes, note the commercial and timing effect and obtain approval before the new version enters production.
9. Hand feel, weight, and drape
Some differences cannot be judged reliably from photos. Compare softness, flexibility, weight, recovery, drape, and the way the garment moves.
Do not treat heavier, denser, shinier, or softer as automatically better. The correct result depends on the design, target customer, climate, price position, and intended use.
10. Presentation and packing direction
Check cleanliness, odor, loose fibers, pressing or finishing, hanger choice, garment cover, folding method, and how easily the product recovers after packing.
Packaging approval should state what is final and what remains to be confirmed. Avoid excessive compression or a method that distorts the garment shape.
5. Use a Comparison Scorecard
Numbers do not replace judgment, but a scorecard forces the team to review the same areas and explain the decision.
| Review area | Version A | Version B | Target or tolerance | Decision |
|---|---|---|---|---|
| Silhouette | Record result | Record result | Approved photo/spec | Approve/revise |
| Measurements | Actual values | Actual values | Chart and tolerances | Approve/revise |
| Material | IDs used | IDs used | Approved references | Approve/revise |
| Color | Shade record | Shade record | Physical range | Approve/revise |
| Surface | Observations | Observations | Visual standard | Approve/revise |
| Construction | Defects/notes | Defects/notes | Construction spec | Approve/revise |
| Components | IDs/function | IDs/function | Component list | Approve/revise |
| Lining | Details/fit | Details/fit | Lining spec | Approve/revise |
Mark critical issues separately from preferences. A missing required label, wrong material, or out-of-tolerance measurement should not be hidden inside an average score.
6. Build a Consistent Photo Record
Photograph every sample in the same sequence:
- Full front, closed
- Full front, open
- Full back
- Left and right sides
- Collar and neckline
- Sleeves and cuffs
- Hem and major panel joins
- Pockets and closures
- Lining and internal construction
- Labels and components
- Surface close-up under neutral light
- Measurement points with the tape or ruler visible
Include the sample ID and date in the record without covering the product. Keep original files where possible and avoid filters that change color or texture.
7. Write Comments That Can Be Executed
Useful comments identify the area, current result, required change, evidence, and priority.
Instead of “the collar is wrong,” write: “Version V2 collar opening measures X; change to the approved measurement Y within tolerance Z, using the attached marked photo.”
Consolidate feedback before sending it. If merchandising asks for a larger collar while the technical team asks for a smaller one, resolve the conflict internally and issue one controlled comment set.
Separate corrections from new design changes. Correcting an out-of-tolerance sleeve is different from changing the sleeve design after approval. New design changes may affect material use, pattern work, components, price, and timing.
8. Create the Approval Package
Approval should refer to one identified version and include:
- Approved sample ID and physical location
- Final measurement chart and tolerances
- Material and color references by garment area
- Component list
- Construction details
- Approved labels and packaging direction
- Dated full-view and detail photos
- Written exceptions
- Open items, owner, and deadline
- Approval date and responsible person
If a question remains open, do not mark the whole sample “approved” without identifying the condition. Use “approved except for…” and close the exception before the affected production step.
9. Common Sample-Comparison Mistakes
- Comparing one sample from memory instead of side by side
- Approving from edited photos without a physical reference
- Using inconsistent lighting or camera processing
- Mixing design preferences with measurable defects
- Sending comments from several people without consolidation
- Reusing the same version name after changes
- Failing to identify temporary materials or components
- Approving appearance but not measurements or function
- Starting production while critical exceptions remain open
- Treating a generic certificate or material claim as evidence for every product
Buyer Checklist
Before comparison:
- ☐ Sample purpose and stage are defined
- ☐ Every sample has a unique ID
- ☐ Review conditions are consistent
- ☐ Current specification and measurement chart are available
- ☐ Material and component references are identified
Before approval:
- ☐ Silhouette and measurements are accepted
- ☐ Materials, colors, and components are confirmed
- ☐ Surface balance and construction are reviewed
- ☐ Lining, labels, and function are checked
- ☐ Photos and comments reference the correct version
- ☐ Open issues have owners and deadlines
- ☐ One sample is identified as the production reference
Frequently Asked Questions
Can I approve a fur garment sample from photos only?
Photos are useful for shape, construction records, and marked comments, but they may not represent shade, texture, softness, weight, flexibility, or drape accurately. Use a physical identified sample when those characteristics are important.
How many sample versions should a buyer expect?
There is no universal number. A complete brief, available materials, consolidated comments, and stable design choices usually reduce unnecessary rounds. Changing several design variables after each review creates additional development work.
What is the difference between a development sample and a pre-production sample?
A development sample tests selected design or material questions and may contain temporary elements. A pre-production sample should consolidate the version, material, measurements, construction, components, labels, and other details that bulk production is expected to follow.
Should two samples be compared by an overall score?
An overall score can summarize a decision, but critical requirements must remain visible. A wrong material, failed function, missing required label, or major measurement deviation should not be offset by strong scores in less important areas.
What should be sent with sample revision comments?
Send the sample ID, dated specification, measurement results, structured comment table, marked photos, priorities, and one consolidated decision. State whether each point is a correction, design change, or open question.
Next Step
For a LINHUA sample-development discussion, send the product reference, approximate quantity, and destination market through WhatsApp. If available, include your tech pack, size chart, material requirement, target timing, and the sample stage you need. We will first identify the information that must be confirmed before development or quotation.