“Whole pelt” and “pieced” describe different ways of arranging material in a fur garment. Neither phrase, by itself, tells you whether a coat is well made. A full-length garment still joins multiple pelts and has seams; a carefully planned pieced design can be sound. The useful question is whether the construction suits the pattern and whether the finished sample is consistent, comfortable, and durable.
The two photographs below are still frames from our supplied, unaltered product and workshop videos. They show a surface to examine and a sewing workstation. They do not prove the garment's species, exact composition, grade, or whether its body uses whole pelts or small pieces. Those details need the approved sample and production records.
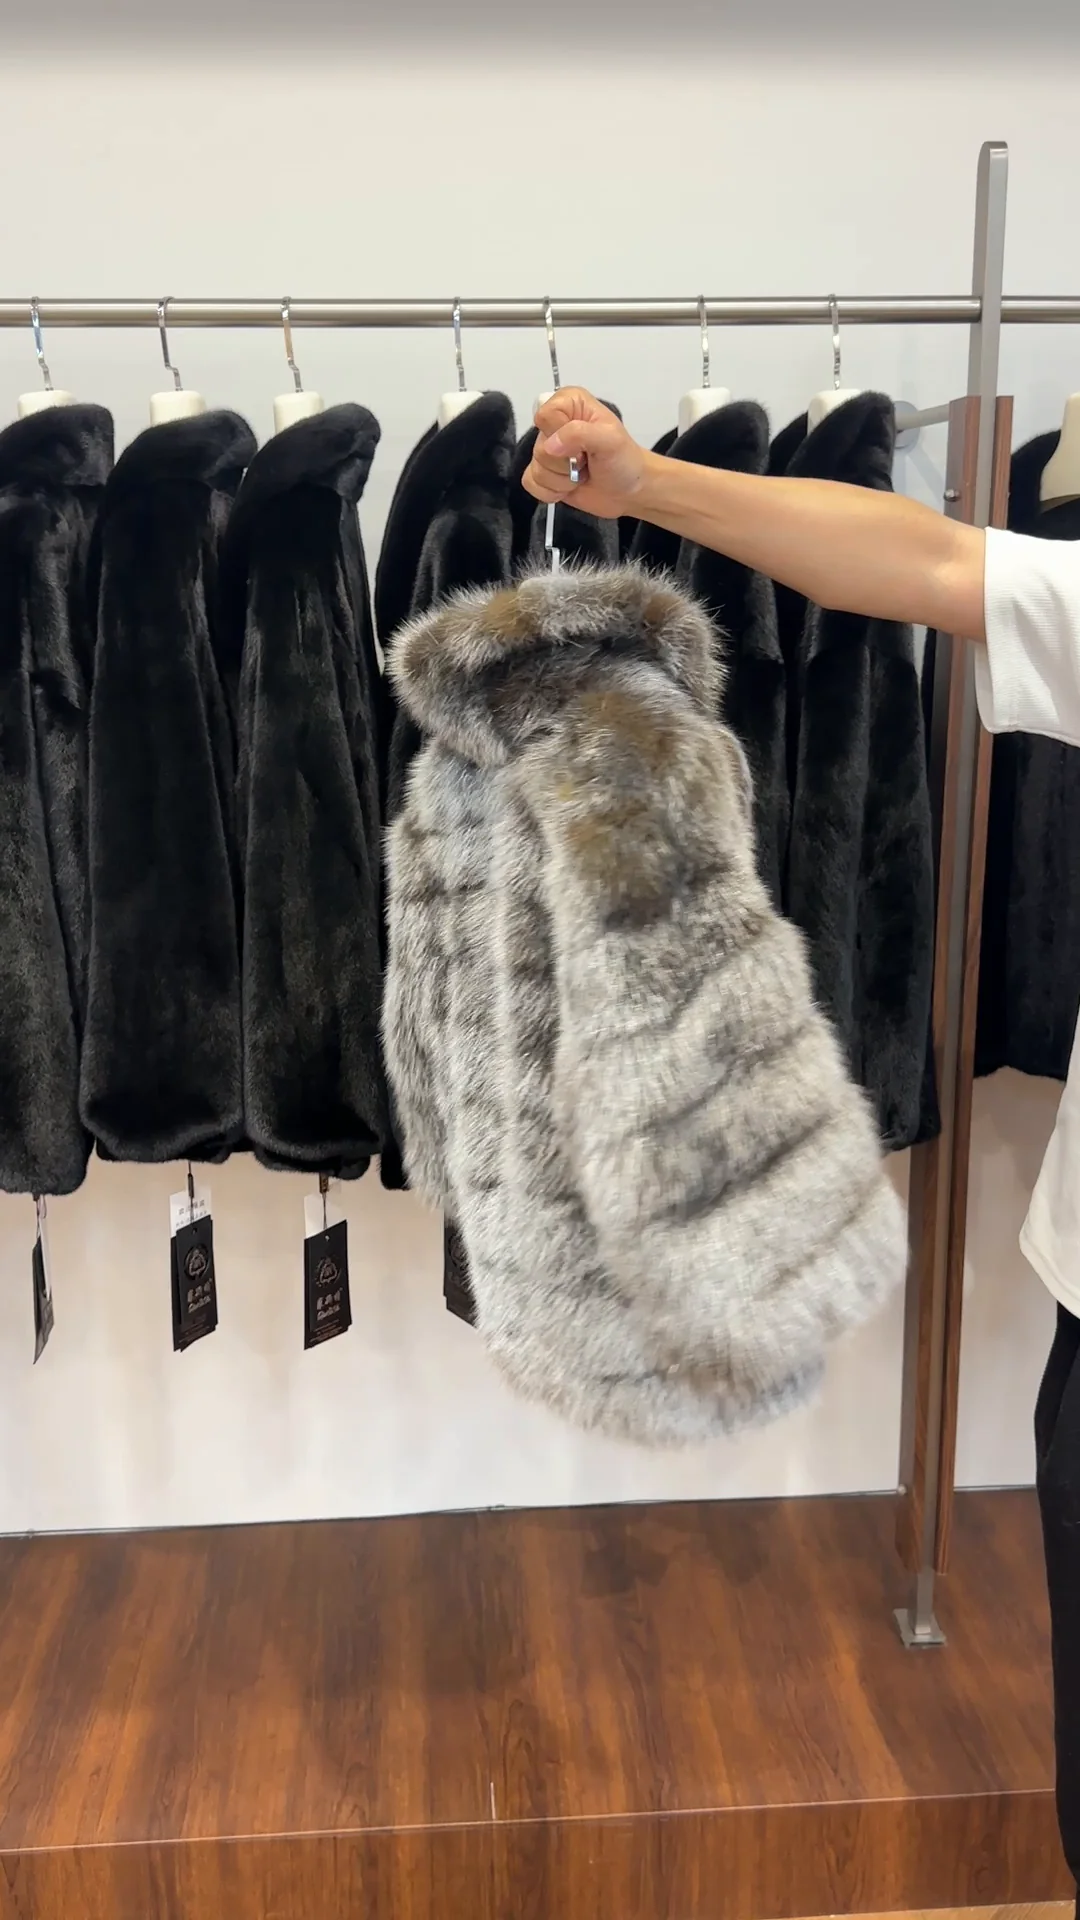
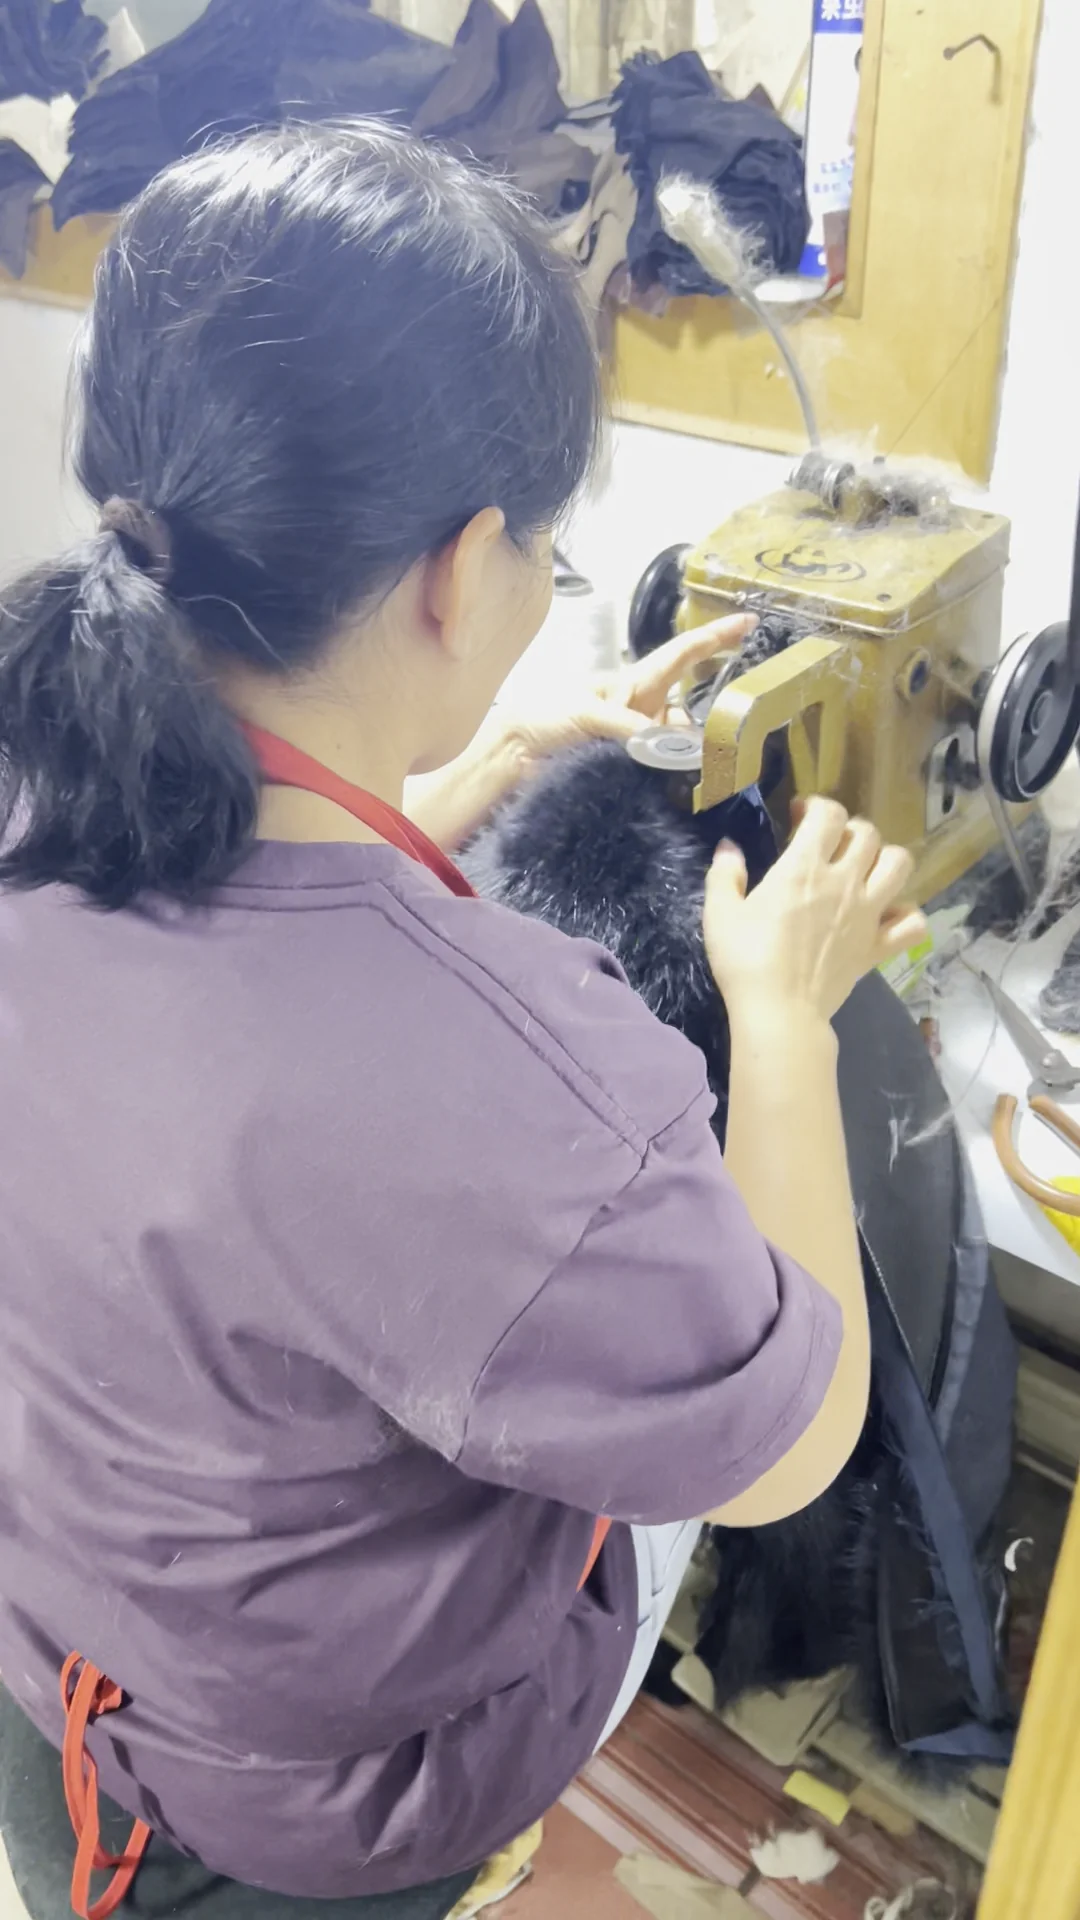
What the two construction terms mean
A whole-pelt layout uses larger intact skins as the principal pattern units, then joins them to form the garment. It does not mean “one skin, no seams.” Depending on style, a maker may cut and reshape a pelt, combine pelts, or use narrow sections in selected areas. Ask for a cutting diagram if the distinction matters to your specification.
A pieced layout assembles smaller sections into panels. This can create a deliberate stripe, chevron, or patchwork effect, and it can make use of suitable smaller material. More joins also mean more opportunities for weak stitching, uneven pile direction, or a stiff hand if the layout is poorly executed. The word “pieced” is therefore a construction description, not an automatic quality grade.
How to judge the visible fur or fur-like surface
Start by viewing the garment under consistent, neutral light. Compare adjacent panels for pile density, hair length, sheen, and color. Brush the surface gently in and against its natural direction and watch how it recovers. A visual change under different lighting is normal, so inspect the same area from more than one angle before calling it a defect.
Look for abrupt changes in hair direction at joins, especially across the front, shoulders, hem, and sleeves. On a deliberately patterned piece, ask for a reference sample that shows the intended repeat. On a plain design, prominent mismatches may be more noticeable. Photographs are useful for recording what to inspect, but compression and lighting can hide a sparse patch or a color difference.
When the garment is available, part the pile at several points and inspect the backing or leather side where accessible. Check for brittle areas, holes, rough repairs, and irregular thickness. Do not stretch a finished garment aggressively. Request a material swatch or a controlled sample test when the backing cannot be seen without damage. For synthetic pile, the same visual inspection applies, but the substrate and performance tests differ; confirm the material category first.
What to inspect at the seams
Turn the sample inside out where the construction allows. Follow the principal seams and inspect stitch spacing, tension, seam allowance, and how the joins behave when the garment hangs naturally. A seam that puckers, opens under gentle handling, or creates a hard ridge is a practical concern. The lining can conceal much of the construction, so request an inside-out sample, construction photograph, or work-in-progress view rather than guessing from a finished front photo.
Check symmetry at collar points, shoulder slope, pocket position, sleeve length, and hem. Count the panels on both sides only if the design calls for symmetry. For asymmetric styles, compare the result to the approved pattern and reference sample. Construction quality is the repeatable match to the agreed design, not a fixed number of seams.
Where workmanship makes the difference
Cutting determines whether the surface reads evenly across a garment. Joining determines whether panels hold together without a visible or uncomfortable ridge. Finishing determines the final drape, edge quality, lining behavior, and closure alignment. These are distinct skills; a polished front image says little about them.
During sampling, record measurements after the garment is fully finished, not only from the paper pattern. Compare two or more pieces made to the same specification. Note where small differences occur: hem balance, collar shape, closure placement, and sleeve twist are easier to catch when samples are laid side by side. For a bulk order, agree on acceptable tolerances and inspection points before production.
| Question for the supplier | Evidence to request | What it helps you judge |
|---|---|---|
| How are the main body panels cut and joined? | Cutting plan, inside-out sample, or clear work-in-progress images | Whether “whole-pelt” or “pieced” matches the actual layout |
| How is material consistency controlled? | Approved swatch, matched panel set, color and pile reference | Visible variation and repeatability between garments |
| What does the finished seam look like? | Close-up of seam front and back, plus physical sample | Stitch quality, bulk, and hair caught in the join |
| What material is supplied? | Documented composition and applicable test or supplier records | Correct labeling and an accurate order specification |
| How will bulk output be accepted? | Approved sample, measurement chart, written defect limits | Whether workmanship can be checked consistently |
A practical sample-review sequence
- Confirm the material category and the intended panel layout in writing.
- Inspect the garment surface in neutral light, then document any visible mismatches.
- Examine accessible seams and backing without damaging the sample.
- Try the garment on a form or wearer to review drape and movement.
- Record measurements, closure alignment, and finishing details.
- Approve one physical reference sample and use the same checklist for production.
If a supplier uses broad terms such as “premium grade,” ask what those words mean in measurable terms. Species or fiber composition, panel layout, lining, dimensions, and acceptable variation belong in the specification. A sample and records are stronger evidence than a photograph or a marketing label.
What the videos can and cannot show
Short, naturally lit clips are useful for comparing silhouette, movement, collar volume, and how the surface catches light. See our three real showroom video references for a short jacket and two long-coat shapes. The clips are visual references, not confirmed product specifications. They cannot reveal hidden joins, exact material composition, or long-term wear.
For a broader review workflow, see our sample comparison guide. Keep your written specification, approved sample, and inspection record together so a future production batch can be compared against the same standard.