A photograph can help a buyer choose a silhouette. It cannot approve a production specification. A useful sample approval records what was supplied, how it was measured, what variation is acceptable, and which physical piece will become the comparison standard. The same method applies to fur, shearling, and fur-look garments, although material tests and labeling requirements differ.
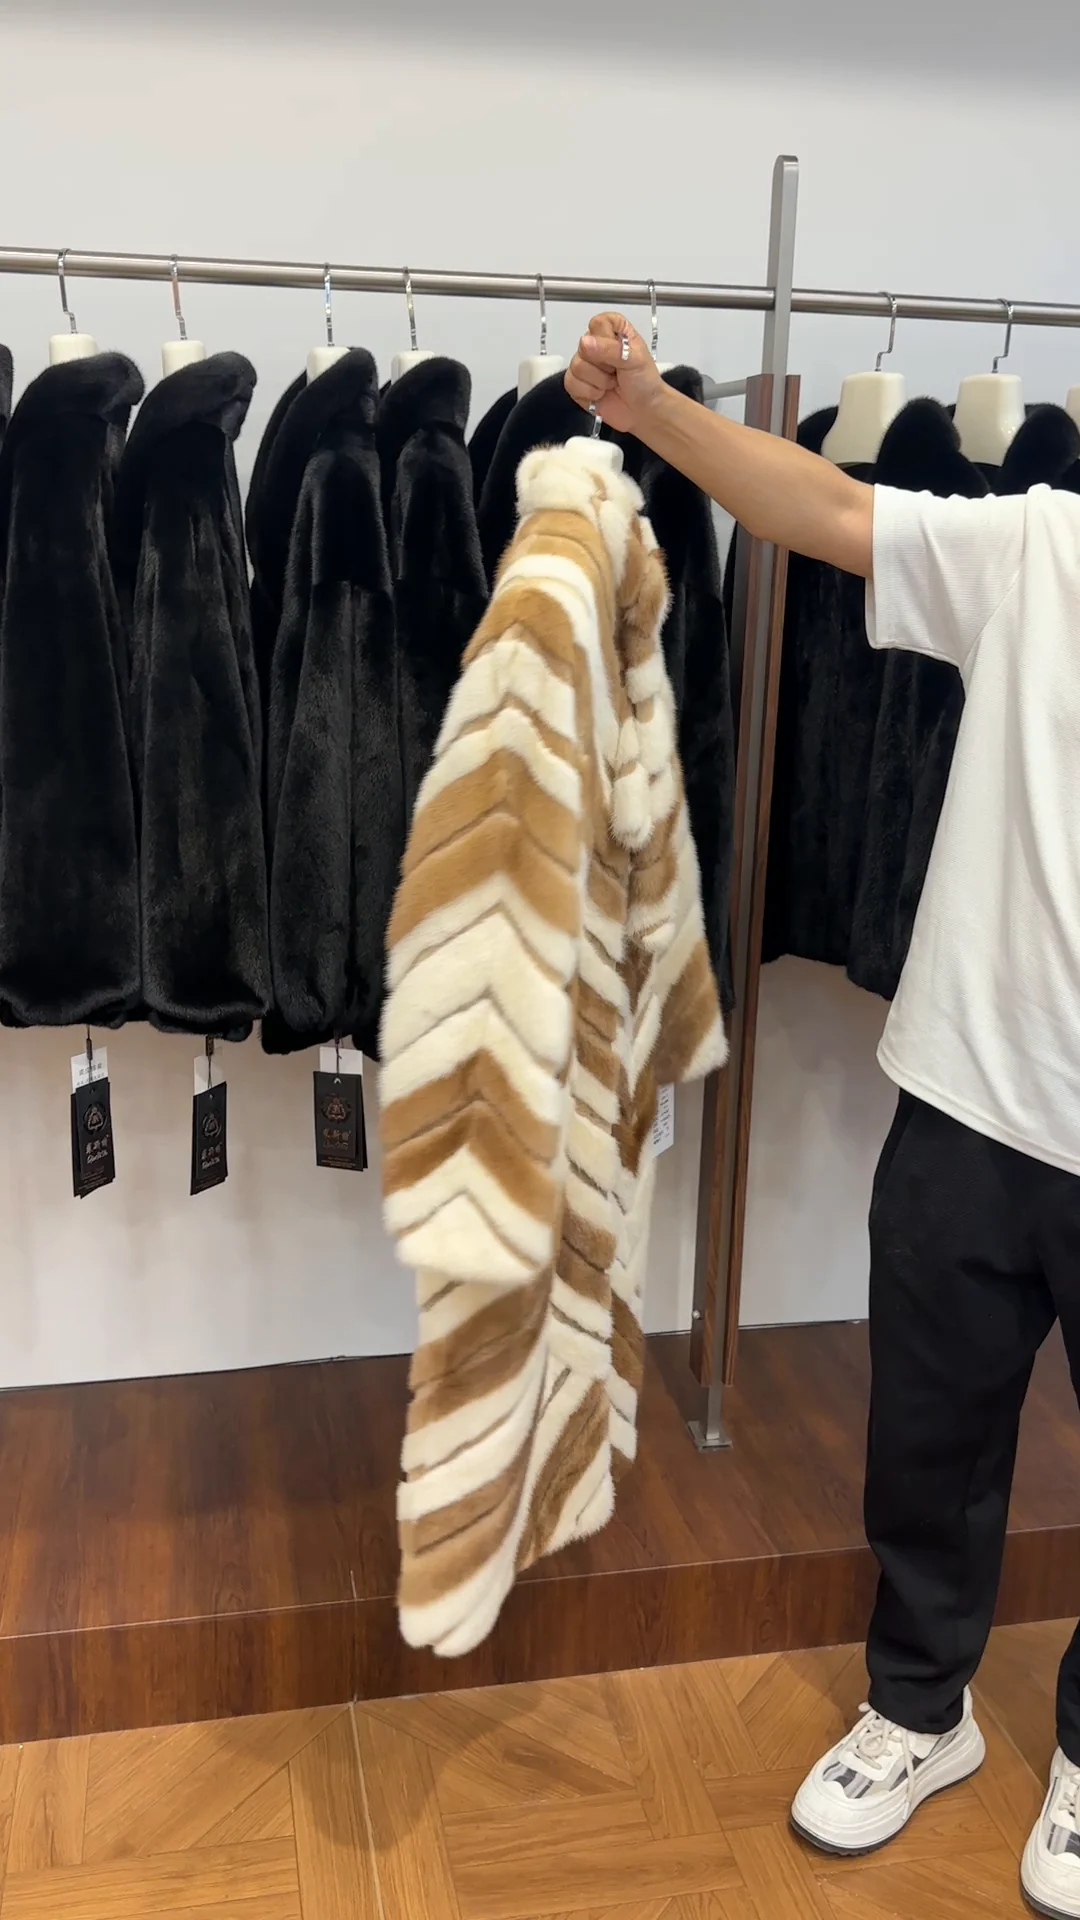
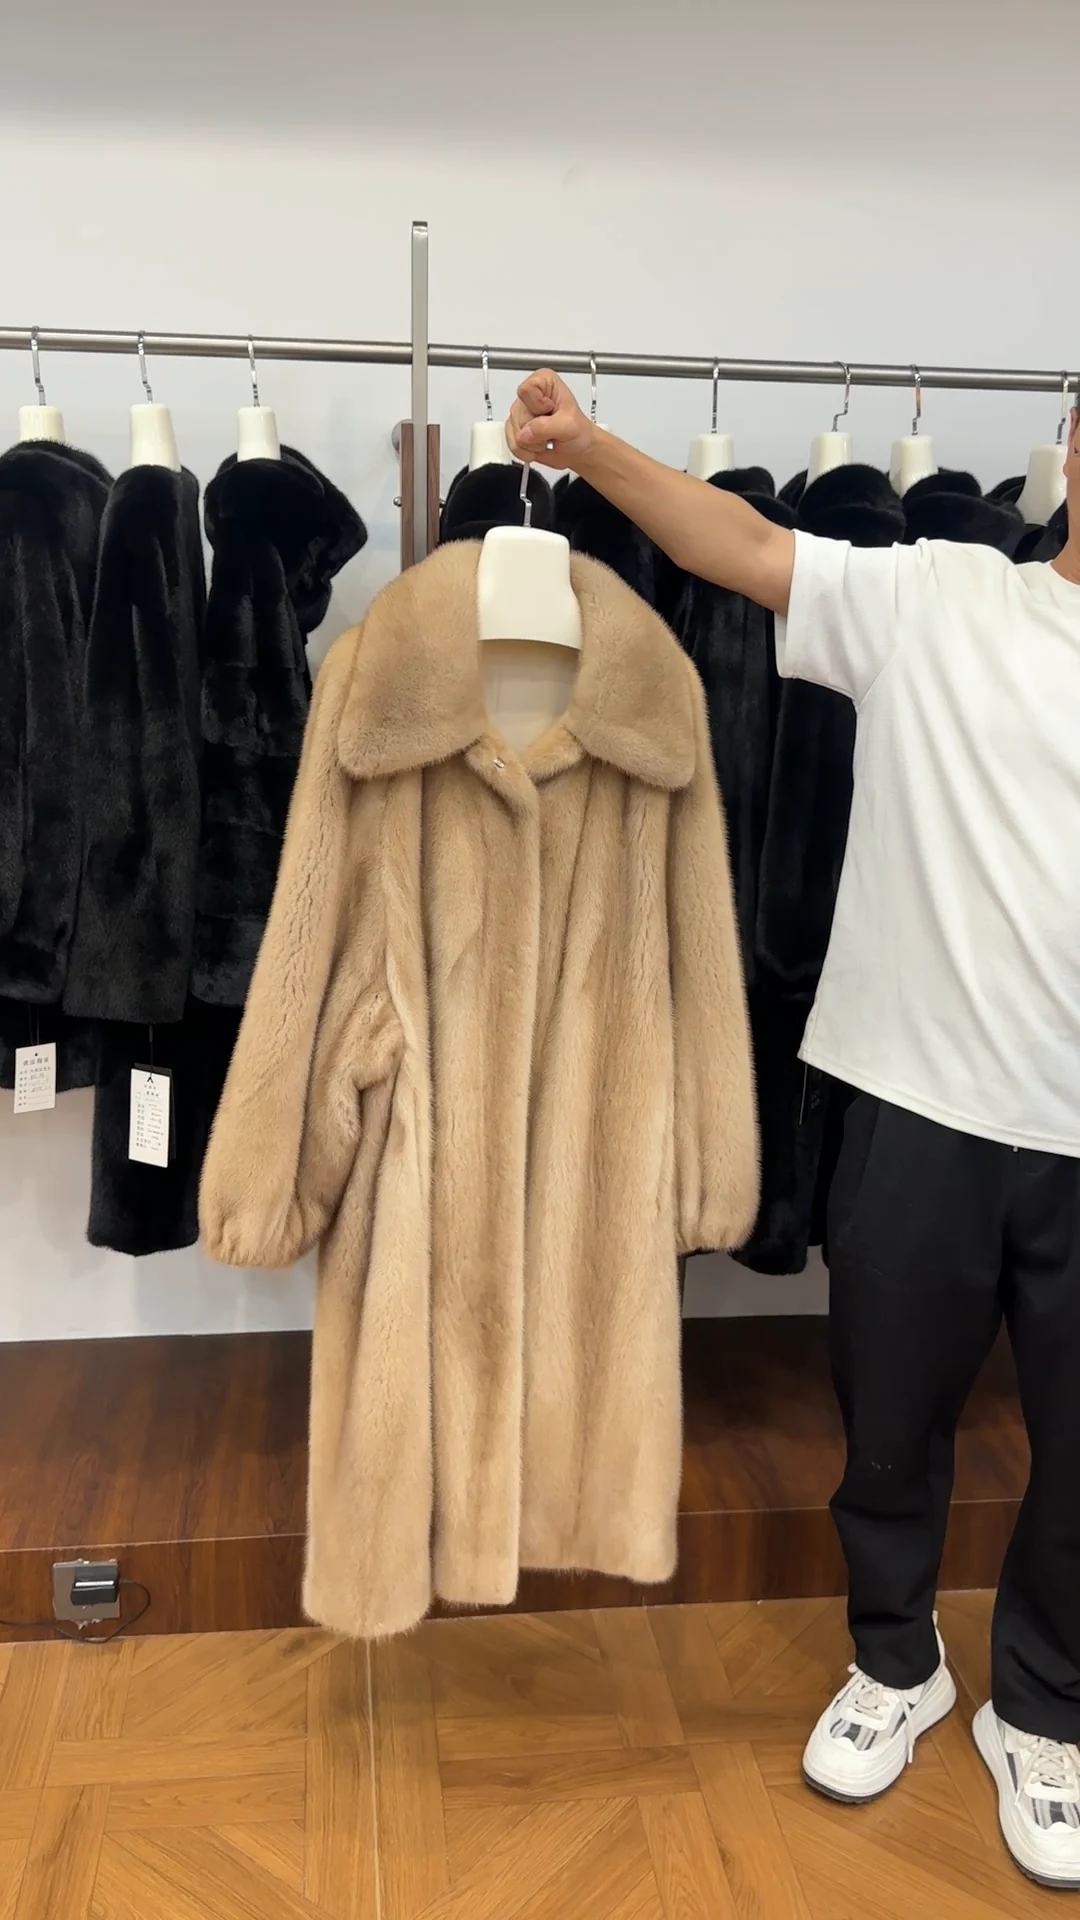
The two images below are frames from real supplied showroom videos. They show a patterned coat and a light long-coat reference. Their exact fiber or animal origin, dimensions, and construction have not been verified from the footage. They illustrate the views a buyer might request; they are not approved technical samples.
1. Freeze the material description
Start with a written bill of materials. Separate the main body, collar, cuffs, lining, closure and trims. For each component record the supplier's confirmed material, color reference, intended finish and any documentation needed for the destination market. A showroom clip cannot establish species, composition, grade or origin. If an item is unresolved, write “pending supplier confirmation” rather than carrying a guess into the purchase order.
Keep a signed swatch or material cutting alongside the sample. Compare the swatch in daylight and neutral indoor light; camera exposure can make the same surface look different. If the material changes after approval, repeat the affected checks instead of treating a similar photograph as equivalent.
2. Measure the finished garment
Agree on a measurement diagram before measuring. Typical points include back length, chest width, shoulder width, sleeve length, cuff opening and hem sweep. Record whether measurements are taken flat, closed, lined and fully finished. Use the same method on each sample. A nominal size such as “M” is not a substitute for centimeters and a tolerance at each point.
Check symmetry only where the design calls for it. For an intentionally asymmetric style, compare the physical sample with the approved pattern. Measure again after finishing, as lining and edge treatment can alter the final shape.
3. Inspect surface, panels and seams
Look across the front, back, sleeves and collar under consistent light. Record unexpected changes in pile direction, density, shade or pattern placement. A patterned coat needs a reference for motif alignment; a plain coat needs an agreed standard for visible variation. See our construction guide for questions about whole-pelt and pieced layouts.
Where access is possible without damage, examine the seam back and lining. Check stitch spacing, tension, seam allowance, trapped hair or pile, puckering and any hard ridge. Move the garment gently and see whether a seam opens or pulls. A single workstation image cannot prove these details; the finished sample and close-up inspection can.
4. Try the garment in motion
Put the sample on the intended size form or a wearer. Observe shoulder balance, collar position, sleeve movement and hem drape from front, side and back. Short showroom videos help discuss silhouettes, but they do not replace a fitting. Note any restricted movement, twisting sleeve, uneven hem or closure pulling in the approval record.
Review the inside as well: lining should not distort the outside shape or catch at the hem. Open and close each fastening several times. Record the exact location and type of closures, pockets and labels. Do not infer strength or durability from appearance alone.
5. Create an approval record that production can repeat
| Record | What to capture | Why it matters |
|---|---|---|
| Sample identity | Style code, revision, date and responsible approvers | Prevents an older version becoming the bulk reference |
| Material schedule | Confirmed components, swatches and unresolved items | Keeps material substitutions visible |
| Finished measurements | Diagram, method, actual values and tolerance by point | Makes size disputes measurable |
| Visual standard | Front, back, side, close-up images in consistent light | Records intended color, pattern and finish |
| Construction checks | Seam, lining, closures, labels and defects requiring correction | Turns “good workmanship” into inspection points |
| Decision | Approve, approve with listed corrections, or resample | Clarifies what production is allowed to copy |
Mark corrections directly on the sample and in a dated change log. If you approve with corrections, decide whether a revised sample must be seen before cutting bulk material. Keep one sealed reference sample with the buyer and one with the maker; record photographs of both and the revision number.
6. Compare the first production pieces to the approved sample
Sample approval is a starting point, not the final quality check. Inspect the first production pieces against the same measurement chart, material schedule and visual standard. If the first pieces vary, pause the relevant operation and document the cause before a full run is completed. Use the same acceptance criteria at final inspection and packing.
For a new supplier, this process is most useful when paired with a broader supplier audit. Our factory overview and OEM/ODM process explain which information to prepare for a sample discussion. To request a documented sample review, send the style reference, intended quantity and destination market.
Takeaway: An approved sample needs a confirmed material description, measurable dimensions, a visible construction standard, recorded corrections and a physical reference. A convincing product photo is useful context, but the written record is what makes the result repeatable.